Headlights and Upper “A” arms
Categories: Construction Progress
Written By: roo
First, an apology for the format here, I am changing the site around, and instead of a big huge post for construction progress, each update will be it’s own post…and they will all be in the “construction progress” catogory…I will go back and change all the old updates soon…
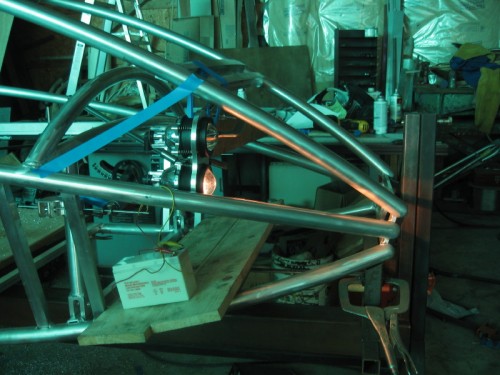
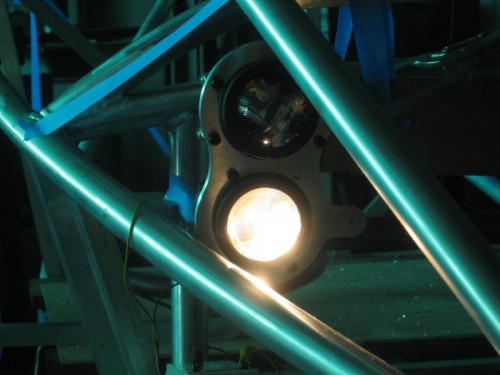
Sooo…Headlights…this is the first time I tried fitting the headlights into where they are to go on roopod…I made the “8” shaped ring to hold them where they are supposed to go: looks good so far…this is a high beam on…
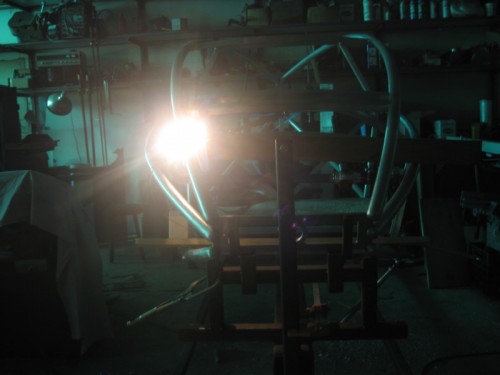
here you can see the “8” piece it holds the screws that are for aiming the headlights (the ones with springs) blue tape, clamp and pine board are temporary…I promise…
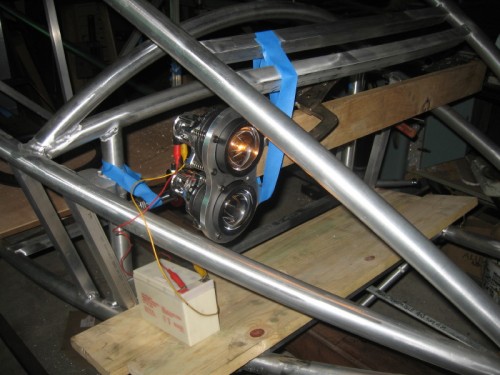
the lights are Hella projectors SW ES EB MG12 M60, 1KL 998.570-021 and each is 60 watts hb3 bulb. I don’t know if I will have the highs and lows both “on” as a option…hmm that’s alot of watts…240w 20 amps for my 30 amp alternator…hmm probably to much…so many questions…just to see the light..
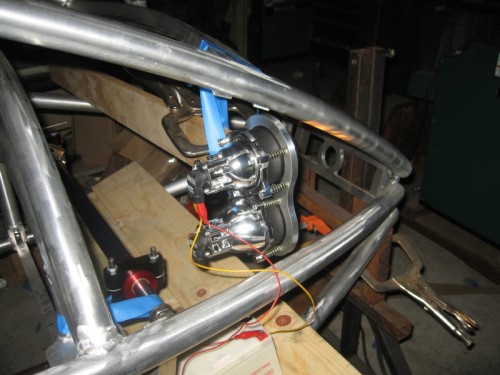
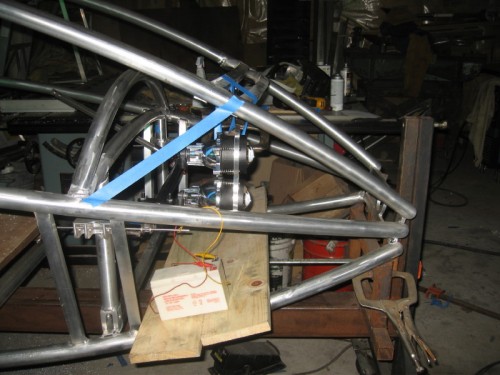
the whole headligh assembly will be under a sheet of lexan, and the “guts” will be exposed…so I tried to make it look cool…
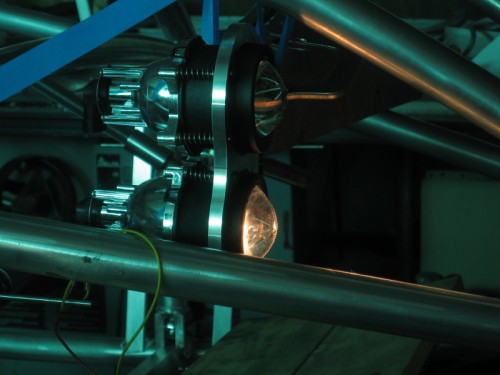
Here are the upper “A” arms being made…they came out of a 1.5″ X 4.5″ bar of 6061, and were a whole day’s work to get to this stage! more chips than part! anyway, the remarkable thing about these are that the top and bottom of each part has a curved contour and it was done by using a 3-d toopath and a ball end mill…
here is the 1/2″ ball end mill making a pass on the x/z axis, for speed, I made the passes .050″ each…leaves a a pattern, but I did not want to wait for a finer finish…
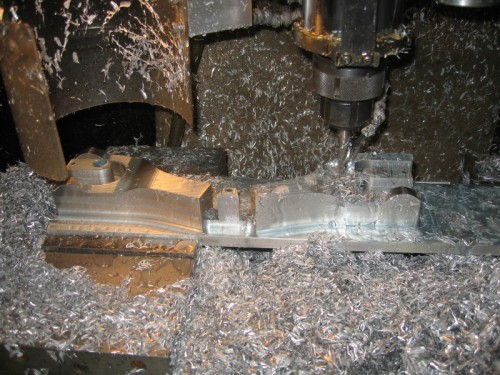
more of the same…wish I had more coolant flow to wash away chips better…
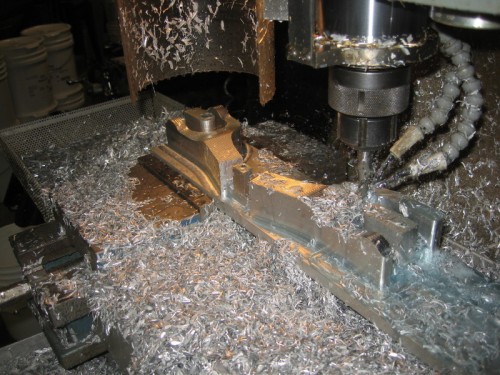
here are the parts with one side shaped with the ball end mill and turned over in the fixture, ready for side two…which will be the top…
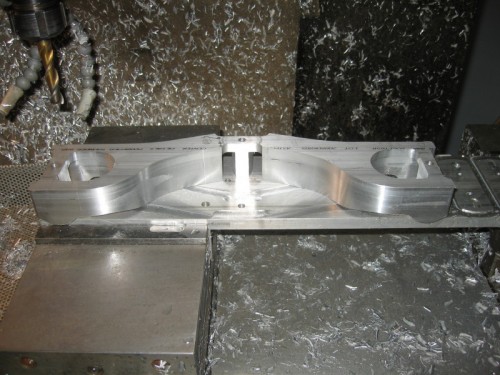
here are the parts finished…note the “tabs” between the forks and at the ends..these are just to hold the part for machining, and will be removed by hand…it’s hard to find a way to hold funny shaped parts like this…not much of that 14″ long bar of 1.5″ X 4.5″ alum!
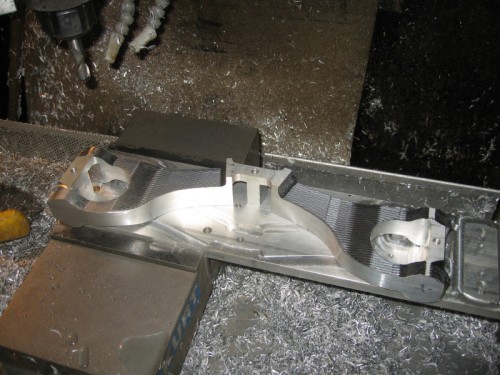
here is a video of the cnc doing a ball end mill toolpath…

